How to Grow and Care for Bee Balm
Bee balm grows best in a sunny spot with room around its stems and soil that stays moist without becoming soggy. Once planted, your main jobs are checking the soil, removing faded flowers, and keeping the clump from getting crowded.
Its shaggy flowers bring color and visiting pollinators to summer gardens. This beginner-friendly guide explains how to grow and care for bee balm, including how to choose a suitable type and what to do when the leaves develop a white coating.
Bee Balm Care at a Glance
Bee balm belongs to a group of plants called Monarda. Most familiar garden forms are perennials, meaning their roots survive winter and produce new growth the following year.
| Care need | What beginners should know |
| Light | Aim for at least six hours of direct sun; some afternoon shade can suit hot locations |
| Soil | Moisture-retaining soil that lets excess water drain away |
| Water | Check regularly after planting and during dry weather; needs vary by species |
| Flowering | Mainly summer, with timing depending on the plant and climate |
| Size | Many taller types reach 2–4 feet; dwarf varieties stay much shorter |
| Winter hardiness | Check the exact plant label; wild bergamot is listed for USDA zones 3–9 |
| Main maintenance | Remove faded flowers, manage spreading, and divide crowded clumps |
| Common problem | Powdery mildew, a whitish fungal coating on leaves |
A hardiness zone describes winter cold. It does not tell you whether a plant will enjoy your summer heat, rainfall, or soil.
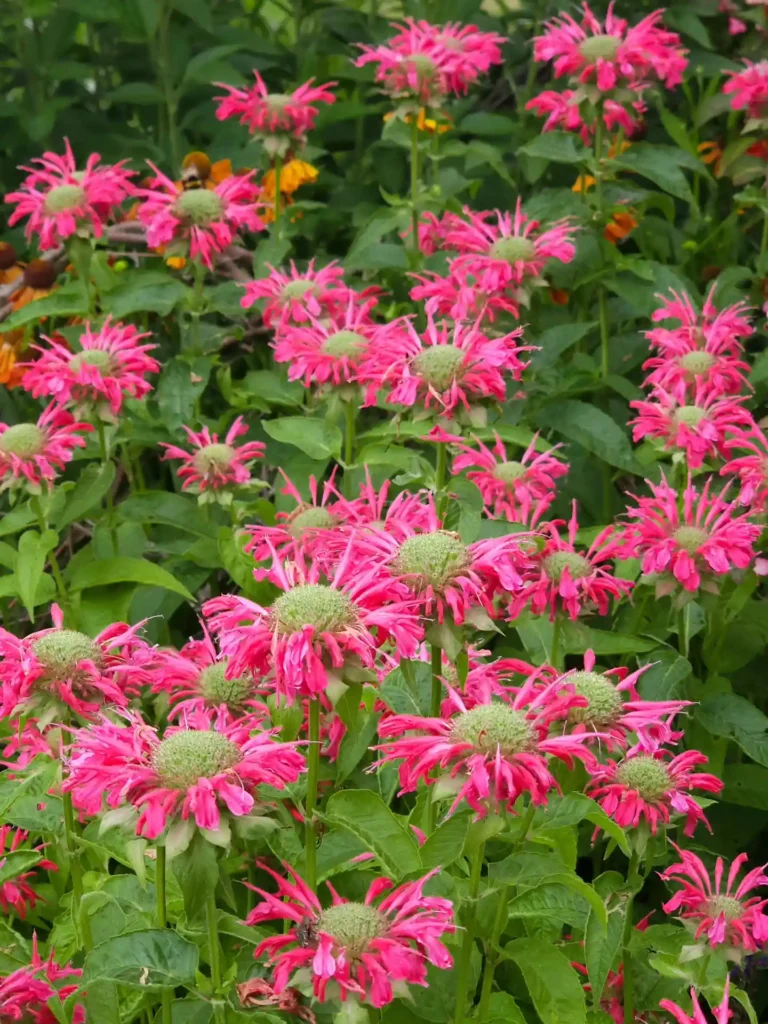
Choose the Right Bee Balm Before Planting
Check the botanical name on the label before choosing a plant. Flowers sold as bee balm do not all need exactly the same care.
Scarlet Bee Balm
Scarlet bee balm, Monarda didyma, is best suited to a bed that does not dry out quickly. It is a better choice where you can keep the soil consistently moist while allowing extra water to drain away.
Many garden bee balms are hybrids. For these, use the growing instructions on the label rather than guessing their needs from flower color.
Wild Bergamot
Wild bergamot, Monarda fistulosa, usually has lavender-pink flowers and a looser, meadow-like appearance. Established plants tolerate occasional dry conditions, making this a useful option for a sunnier, somewhat drier border.
It still needs water while settling in. Drought tolerance does not mean a newly planted root ball can be left to dry out.
Compact and Annual Types
For a small bed or container, look for a compact variety such as ‘Petite Delight’. Read both the height and spread on the label: a short plant may still grow outward.
Lemon bee balm, Monarda citriodora, is generally grown as an annual and can also behave as a biennial. Do not assume it will return from the same roots like a perennial bee balm. Most of the care below focuses on perennial garden types.
Where to Plant Bee Balm
Choose an open spot where nearby plants will not press tightly against the leaves. A sunny border is usually a better starting point than a narrow gap between large shrubs.
In a hot garden, morning sun with some afternoon shade can help reduce heat stress. Deep shade is a poor choice if you want plenty of flowers.
Watch the proposed spot after rain. If water remains pooled around the planting area, choose another location or improve the drainage across the bed. Adding compost to a single hole will not fix a waterlogged site.
If your available space is mainly shaded, the guide to growing hostas will help you plan that part of the garden. Keep bee balm in the brighter area rather than expecting both plants to perform equally well in deep shade.
How to Plant Bee Balm Step by Step
A nursery-grown plant is a straightforward starting point for a beginner. You can see its size, check its label, and avoid the extra work of raising seedlings.
Plant in spring once the soil is workable, or in early fall with enough mild weather left for roots to settle. Avoid starting during a heatwave if possible.
- Water the nursery pot. The root ball should be moist before you remove it.
- Prepare the space. Remove weeds and loosen the soil. Work some finished compost into poor soil across the planting area.
- Dig a wide hole. Make it wider than the root ball but no deeper.
- Check the roots. Gently loosen roots that are circling tightly around the outside.
- Set the planting depth. Keep the top of the root ball level with the surrounding soil.
- Fill and water. Return the soil, firm it gently, and water slowly around the roots.
- Add mulch. Spread a light layer around the plant, leaving a clear gap beside the stems.
Follow the spacing on the label. Leave room for the mature plant, even if the bed looks a little empty at first.
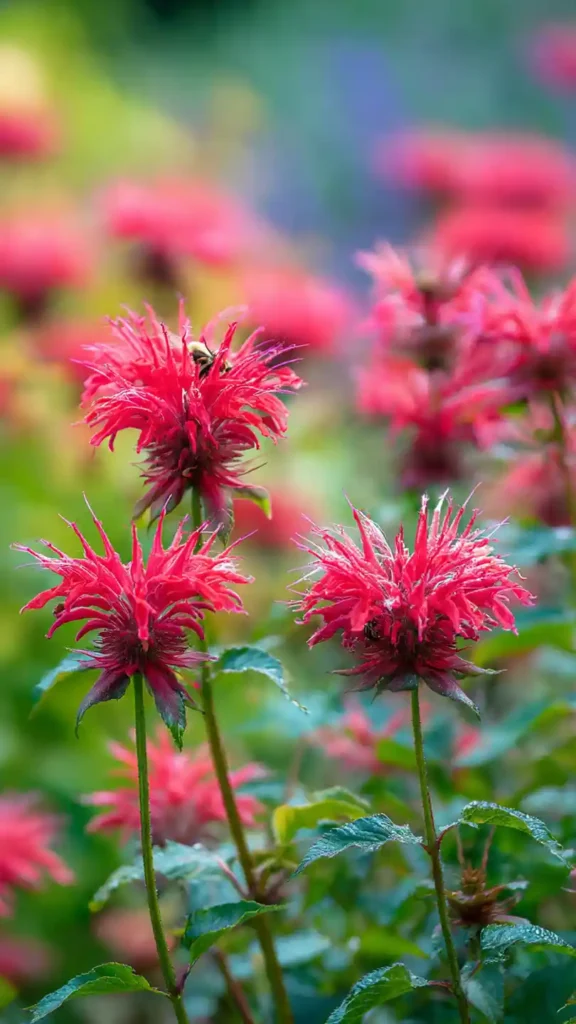
How Often Should You Water Bee Balm?
Check the soil instead of watering automatically on the same day each week. Rain, wind, heat, and soil texture all change how quickly a plant dries out.
During the first few weeks, feel the original root ball as well as the soil beside it. A small nursery root ball can dry out while the surrounding bed still feels damp.
When the root area begins to feel dry, water slowly enough for moisture to soak in. Repeated light splashes may wet only the surface.
Once established, scarlet bee balm generally needs closer attention during dry weather than wild bergamot. Mulch helps slow moisture loss, but you still need to check beneath it.
Do not treat every wilted leaf as a request for more water. If the soil is already wet, adding more can make a drainage problem worse.
Does Bee Balm Need Fertilizer?
Bee balm does not need frequent feeding. In a reasonably fertile garden bed, begin with modest soil care rather than a weekly fertilizer routine.
A thin layer of compost in spring may be enough. If poor soil calls for fertilizer, follow the product’s directions and avoid repeated heavy applications.
Extra fertilizer cannot correct too much shade or damaged roots. Check growing conditions before feeding a weak plant.
How to Remove Faded Flowers
Deadheading means cutting off flowers that have finished blooming. It keeps bee balm looking tidier and may extend its flowering period.
Follow the old flower stem down to a healthy pair of leaves or a side shoot. Cut just above that point with clean snips, taking care to leave unopened buds.
Repeat flowering varies. Deadheading does not guarantee another display as large as the first.
Later in the season, you can leave some seed heads for a more natural appearance. Removing them is a tidiness choice, not a requirement for keeping the roots alive.
What to Do About White Powder on the Leaves
A white or gray dusty coating is often powdery mildew. This fungal disease can make leaves look tired and cause early leaf loss when severe.
For prevention, choose a variety with mildew resistance, avoid overcrowding, and reduce drought stress. Resistance lowers the risk; it does not promise spotless leaves in every garden.
If mildew appears, check whether neighboring plants are blocking airflow. Remove badly affected leaves where practical without stripping the whole plant, and clear diseased fallen material from around the base.
Avoid reaching straight for homemade sprays. First work on spacing, moisture, and the planting site. A local extension service can help identify persistent problems before you choose a treatment.
How to Stop Bee Balm From Taking Over
Perennial bee balm can spread through underground stems. A small clump may gradually send shoots into neighboring plants.
Check the edges in spring. Dig out unwanted rooted shoots while they are small, keeping the healthiest pieces if you want plants elsewhere.
Divide a clump when it becomes crowded or develops a weak center, often every two to three years. In early spring, lift it and separate healthy outer sections, each with roots and several shoots. Replant promptly and water well.
Choose a space where you can reach the edges. Bee balm tucked tightly between delicate plants is harder to manage.
Can You Grow Bee Balm in a Pot?
Yes, especially a compact variety. Choose a substantial container with drainage holes and enough room for roots to grow beyond their nursery pot.
Use potting mix rather than dense garden soil. Water thoroughly when needed, allowing excess water to drain freely. Empty any saucer that leaves the pot standing in water.
Check containers more often during hot or windy weather. A pot can dry much faster than a garden bed.
For winter, remember that exposed container roots have less protection from cold than roots in the ground. The best protection depends on your climate and the variety; do not assume an in-ground hardiness rating guarantees survival in a small exposed pot.
Growing More Bee Balm Plants
Division is usually the simplest method for beginners with an established perennial clump. It also keeps the new plant like the parent.
Seeds are another option, but follow instructions for the exact species. Some benefit from a cold period before germination, and seedlings from a named hybrid may differ from the original plant.
Soft young stem cuttings can also be rooted, though they need more attention to moisture and humidity. Starting with division is generally easier if your main goal is a few extra garden plants.
Common Bee Balm Problems
| What you notice | What to check first | Your next step |
| Plenty of leaves but few flowers | Sun exposure, recent feeding, and plant age | Check light before adding fertilizer; allow young plants time to settle |
| Wilting leaves | Moisture in the root ball and surrounding soil | Water if dry; investigate drainage if already wet |
| Brown, dry leaf edges | Recent heat and drying around the roots | Adjust watering based on the soil, not leaf appearance alone |
| Stems leaning or flopping | Shade, crowding, and very soft growth | Support stems temporarily and review the planting site |
| A bare center with growth around the outside | An aging, crowded clump | Divide and replant healthy outer sections |
| Leaves fading in fall | Seasonal dieback | Look at the season before treating normal dormancy as disease |
These are starting checks, not certain diagnoses. If damage keeps spreading, take clear photos of the whole plant, leaves, and stem base for local advice.
What to Plant Near Bee Balm
Choose companions by their water needs as well as their colors.
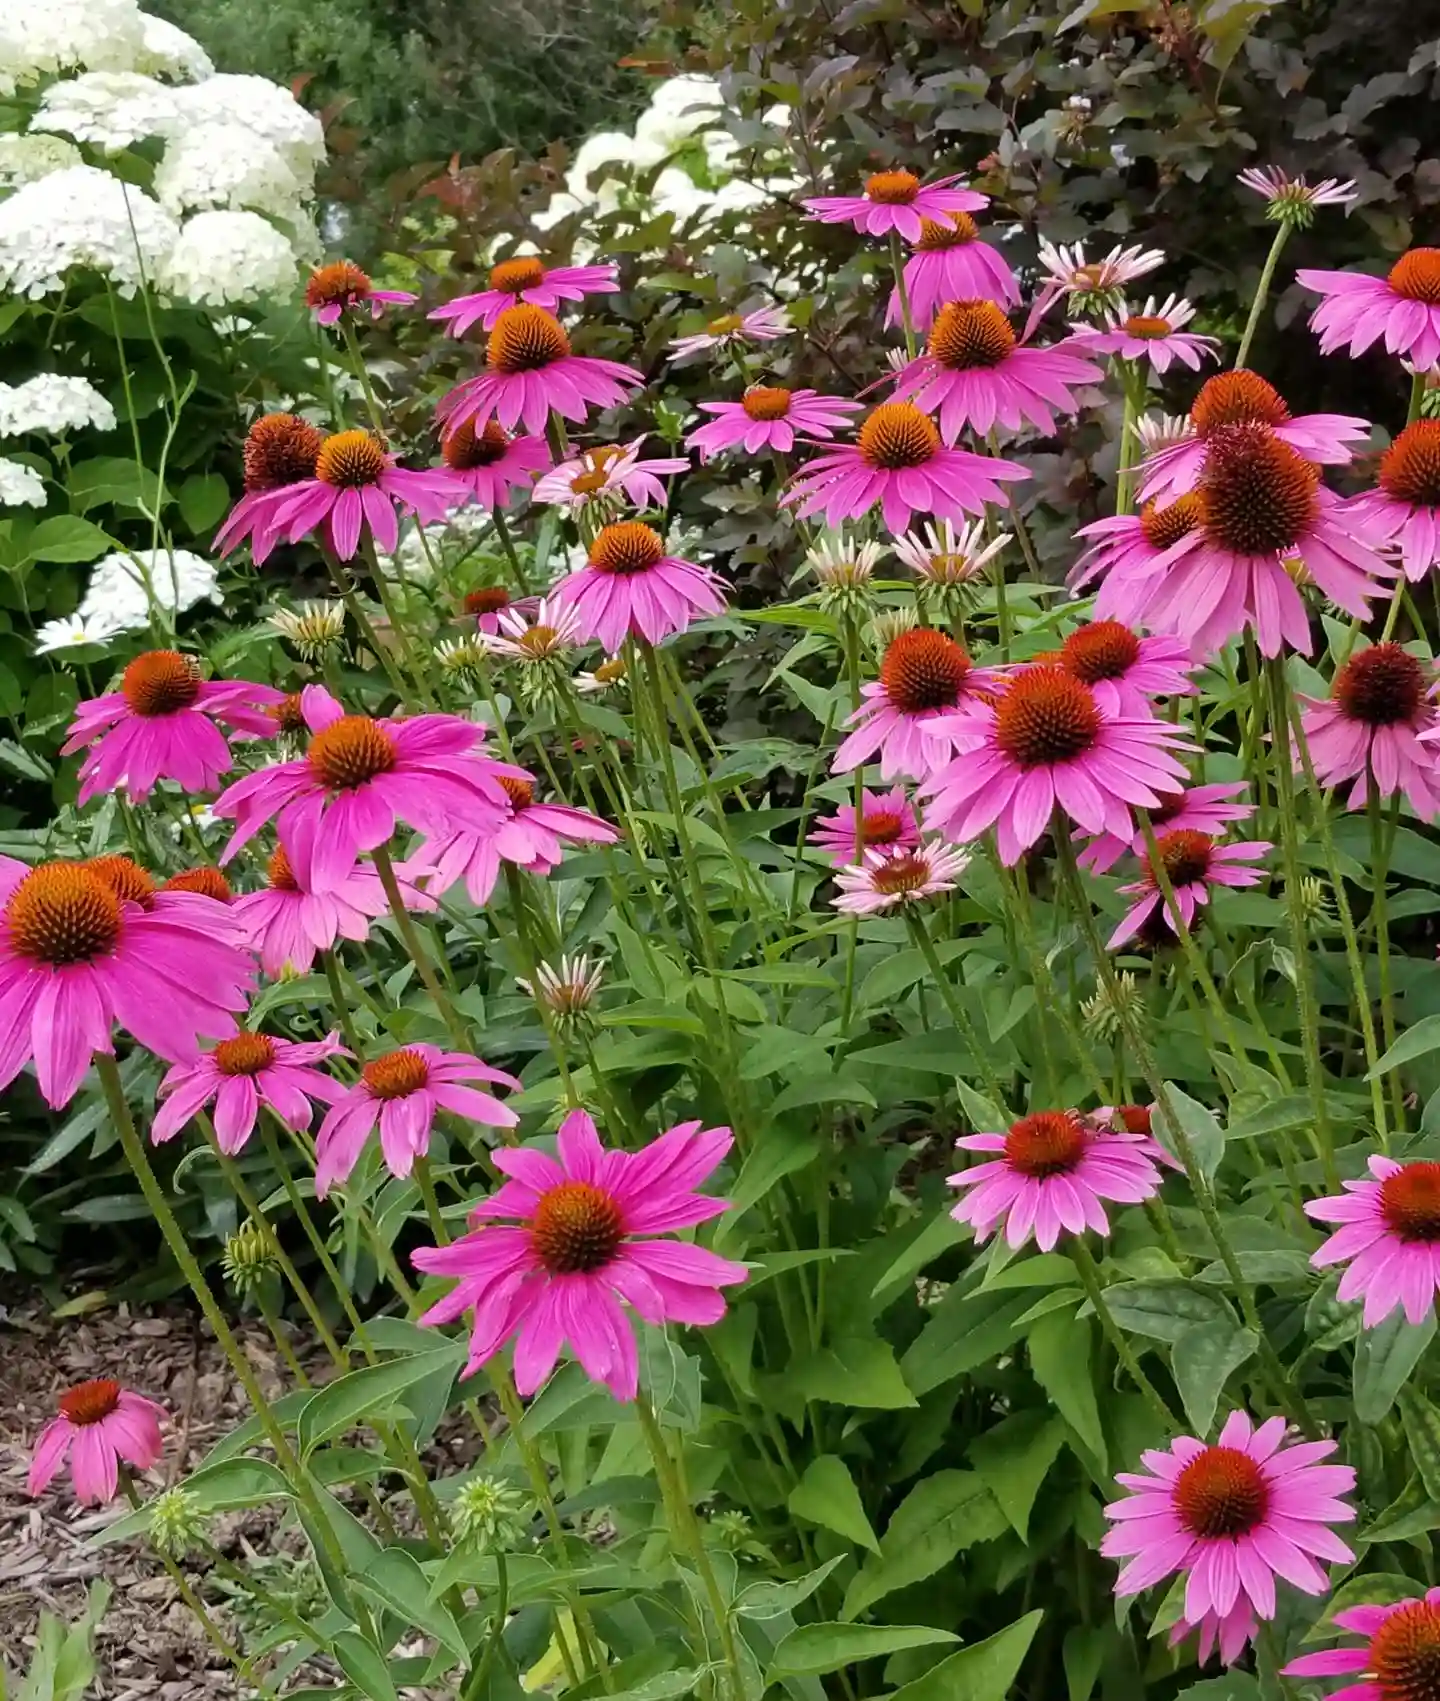
In a sunny border, wild bergamot can work alongside coneflowers. Their broad flower heads contrast with bee balm’s shaggy blooms. Give both enough room so their mature leaves are not packed together.
Flowering salvia adds upright spikes to the same kind of planting. Many perennial salvias prefer a drier root area than scarlet bee balm, so avoid putting them together in a constantly moist pocket.
A bed can contain different moisture levels. Place the thirstier plant in the moisture-retaining area and keep plants that prefer drier conditions toward the better-drained edge.
Bee Balm Care in Fall and Winter
Perennial bee balm normally loses its upright growth as the season ends. Brown stems do not automatically mean the roots have died.
Remove diseased foliage and fallen infected leaves. Healthy dry stems can remain for winter structure and insect habitat, especially in a wildlife garden.
For wild bergamot, leaving sections of hollow stems standing can support stem-nesting bees. Avoid clearing every stem simply because flowering has finished.
In spring, look for new shoots near ground level before trimming. Keep mulch loose around the plant rather than piling a thick, wet layer over emerging growth.
Frequently Asked Questions
Will bee balm flower in its first year?
A nursery-grown plant may flower in its first growing season. Seed-grown perennial plants can take longer, depending on sowing time, growing conditions, and the type you choose.
Is bee balm suitable for a small garden?
Yes, if you choose a compact variety and make room for its mature spread. A container is another option, though it will need closer watering checks.
Will deer and rabbits eat bee balm?
Some bee balms, including wild bergamot, resist browsing better than many garden plants. They are not deer-proof or rabbit-proof, especially when other food is scarce.
Start with one plant suited to your light and soil. Give it room, check moisture around its roots, and watch how it grows through its first season. Those simple habits make bee balm care much easier to understand.