How to Grow Daylily: Easy Planting & Care Guide
Daylilies are one of the easiest flowering perennials to grow, which is why so many gardeners use them in borders, walkways, cottage gardens, and sunny flower beds. If you want bright color without a lot of daily care, learning how to grow daylily plants is a smart place to start.
The best part is that daylilies are tough, forgiving, and beautiful once they settle in. In this guide, you’ll learn where to plant them, how much sun they need, when to water, how to divide them, and how to keep them blooming year after year.
What Are Daylilies?
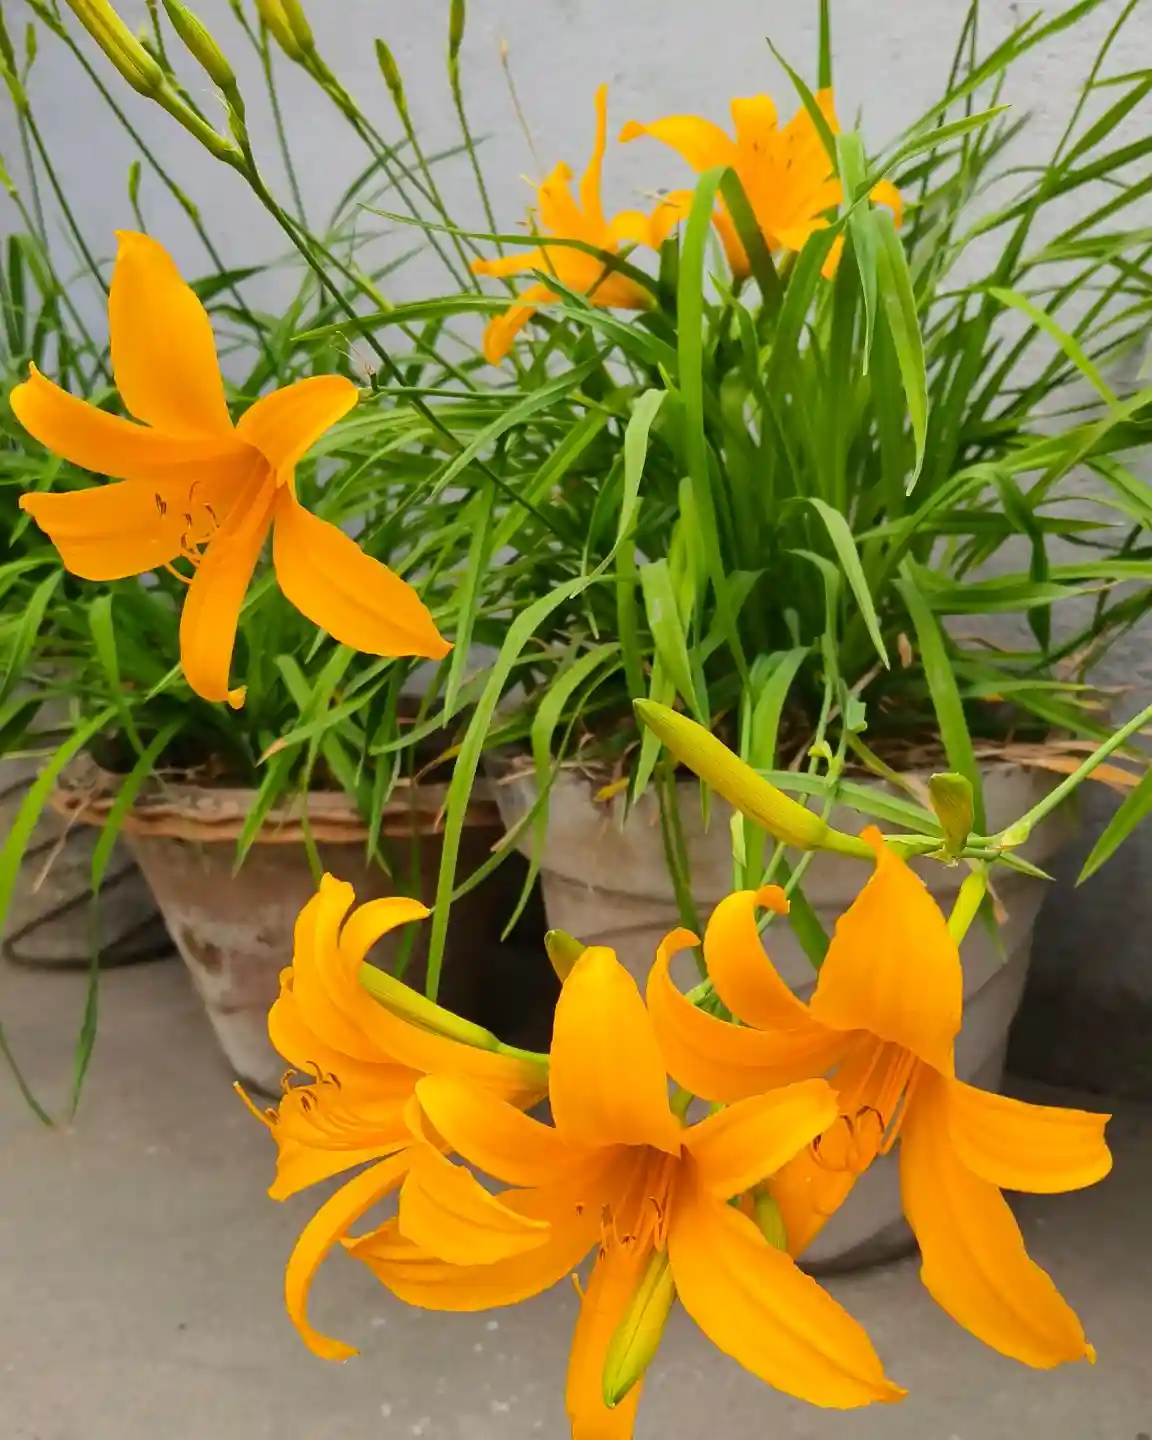
Daylilies are hardy flowering perennials from the Hemerocallis genus. Even though the name includes “lily,” daylilies are not true lilies. True lilies grow from bulbs, while daylilies grow from fleshy roots.
Each daylily flower usually lasts for just one day, but a healthy plant can produce many buds over several weeks. That means you still get a long show of color, especially if you plant more than one variety.
Most daylilies grow well in USDA zones 3–9, depending on the type. They are popular because they handle heat, come back every year, and do not need constant attention.
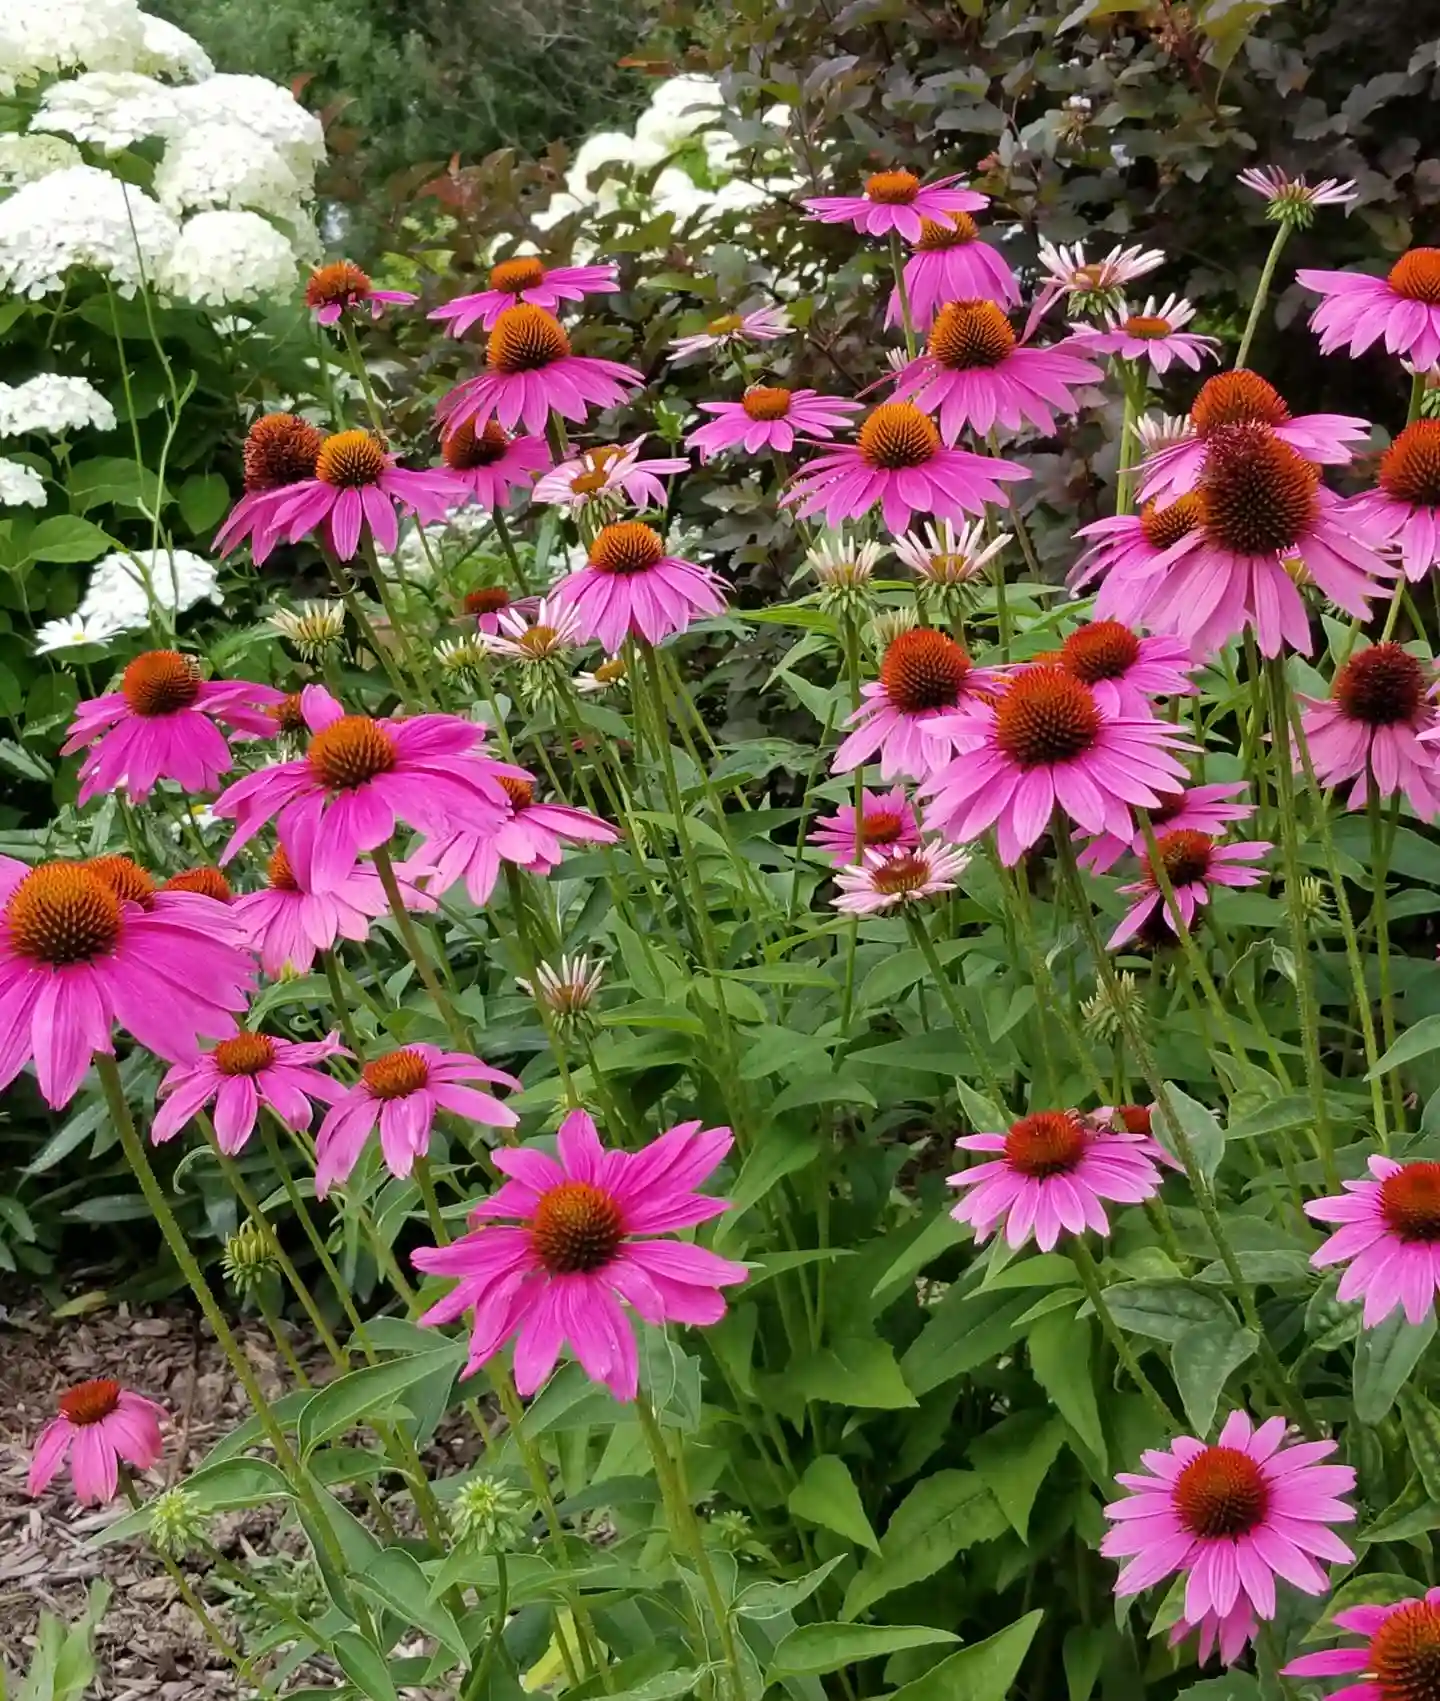
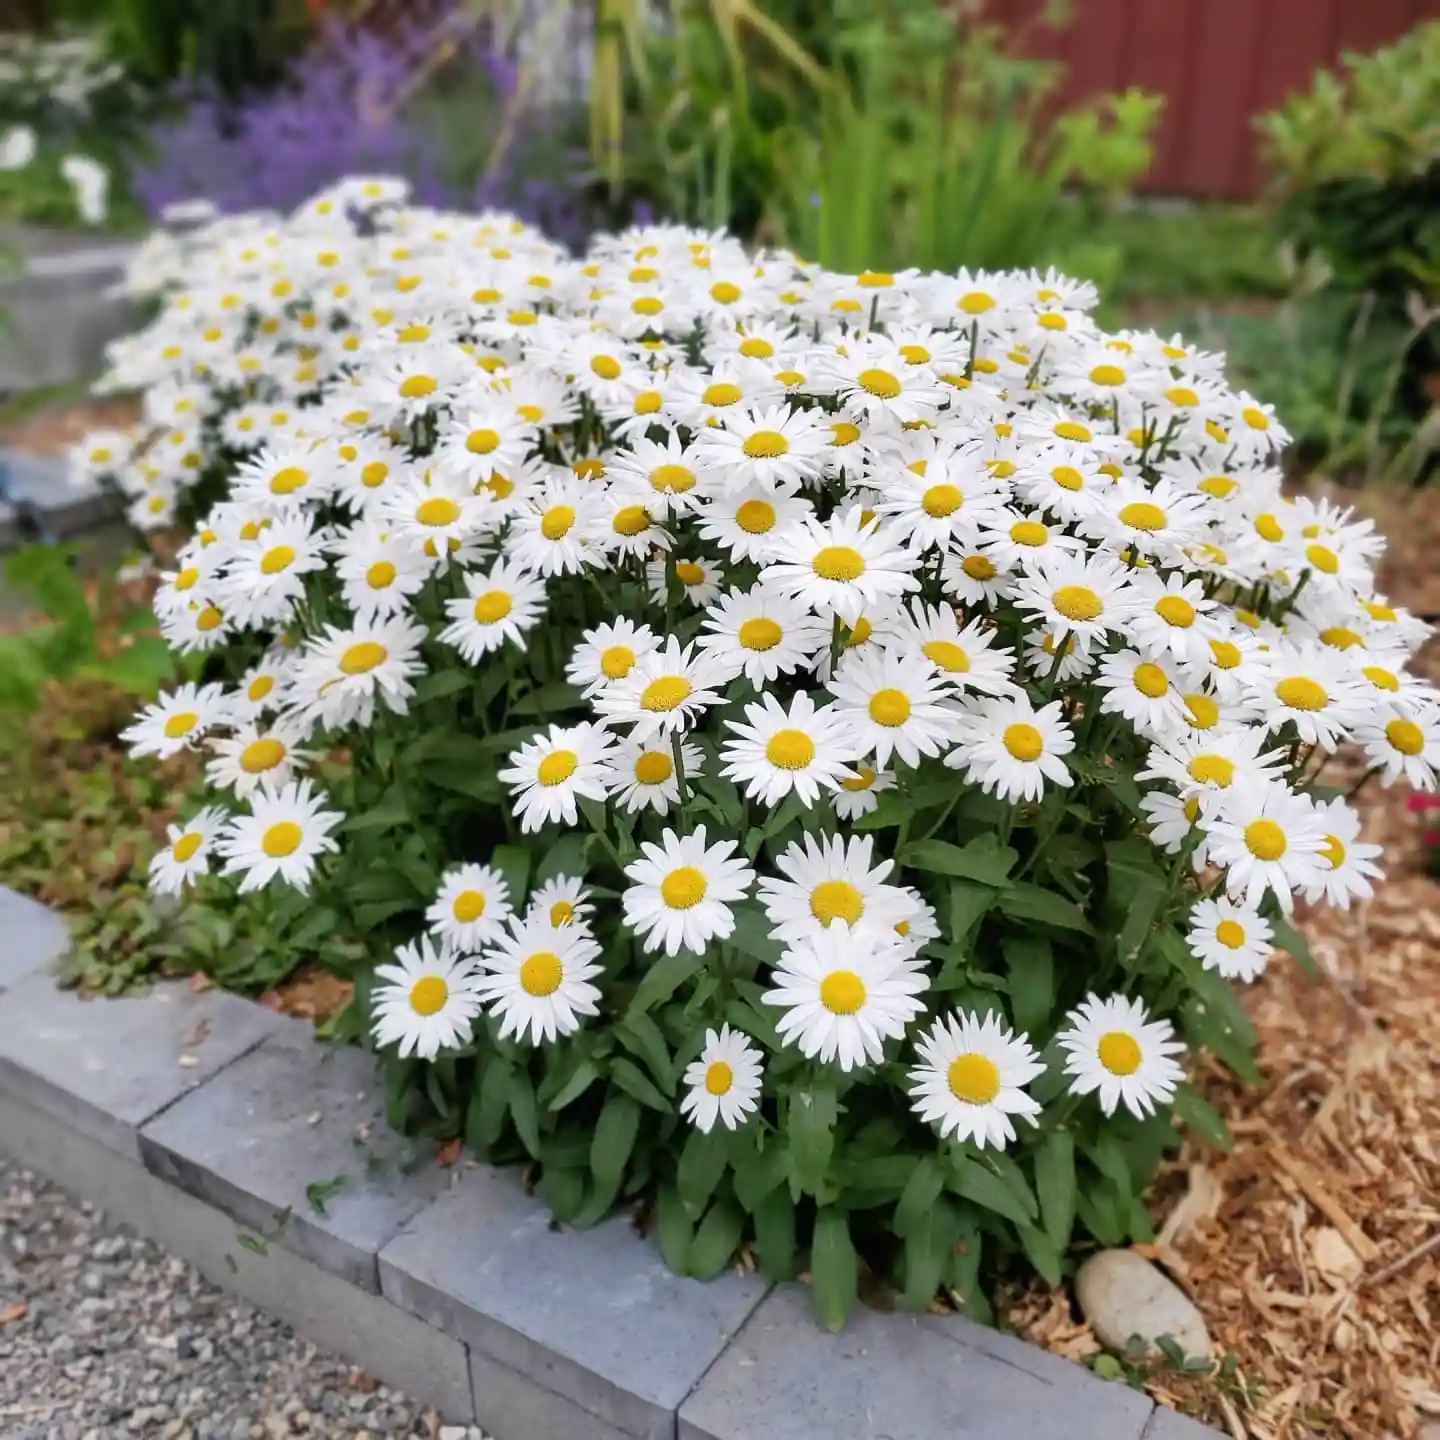
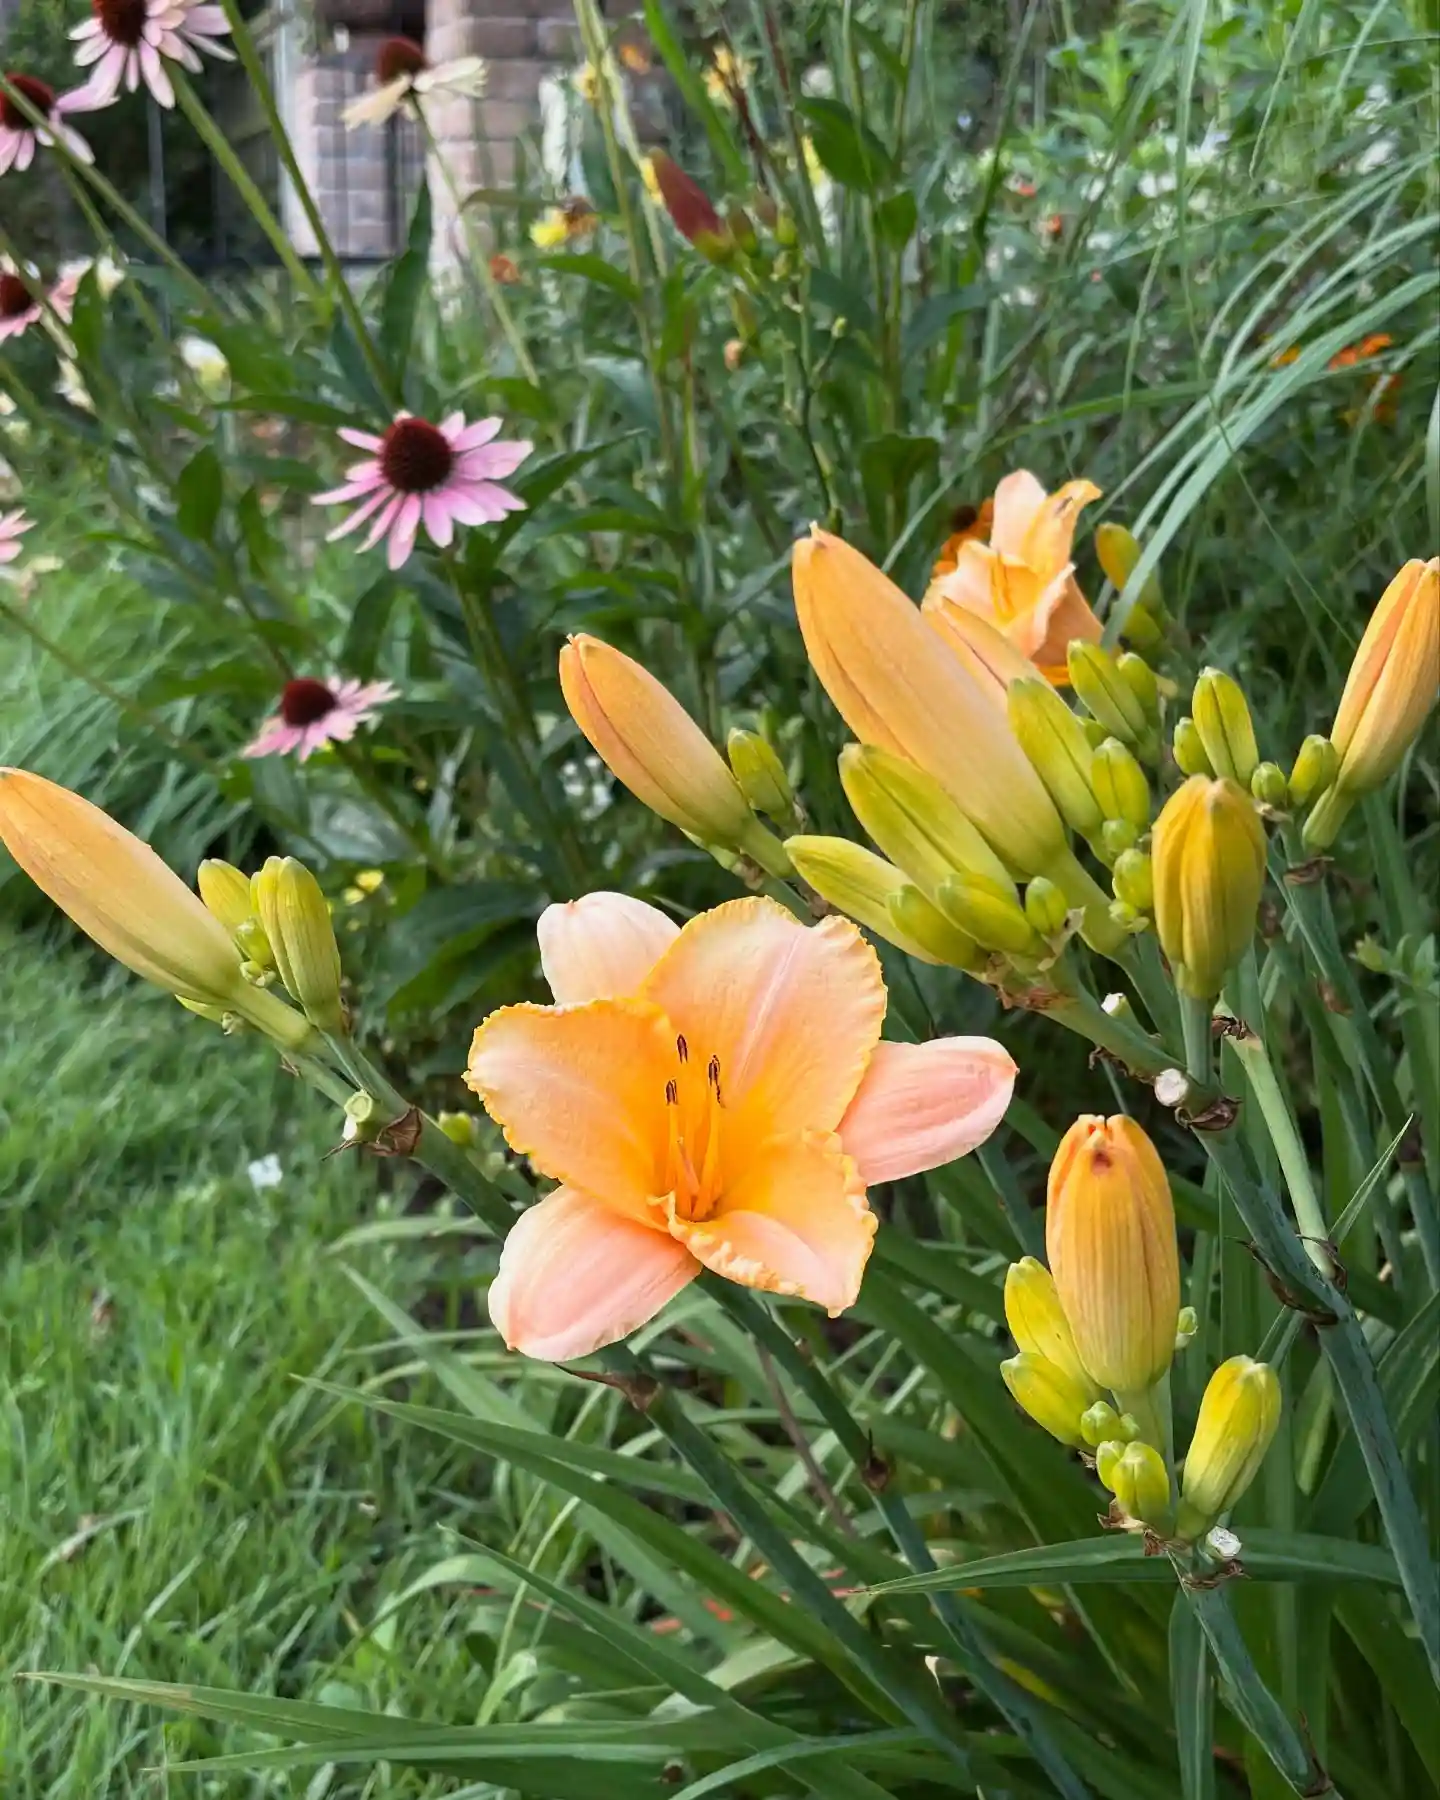
In my own garden, daylilies are one of those plants I trust when I want strong summer color without too much fuss. They look beautiful beside other easy perennial flowers like coneflowers, especially in sunny garden beds.
Choosing the Right Daylily Variety
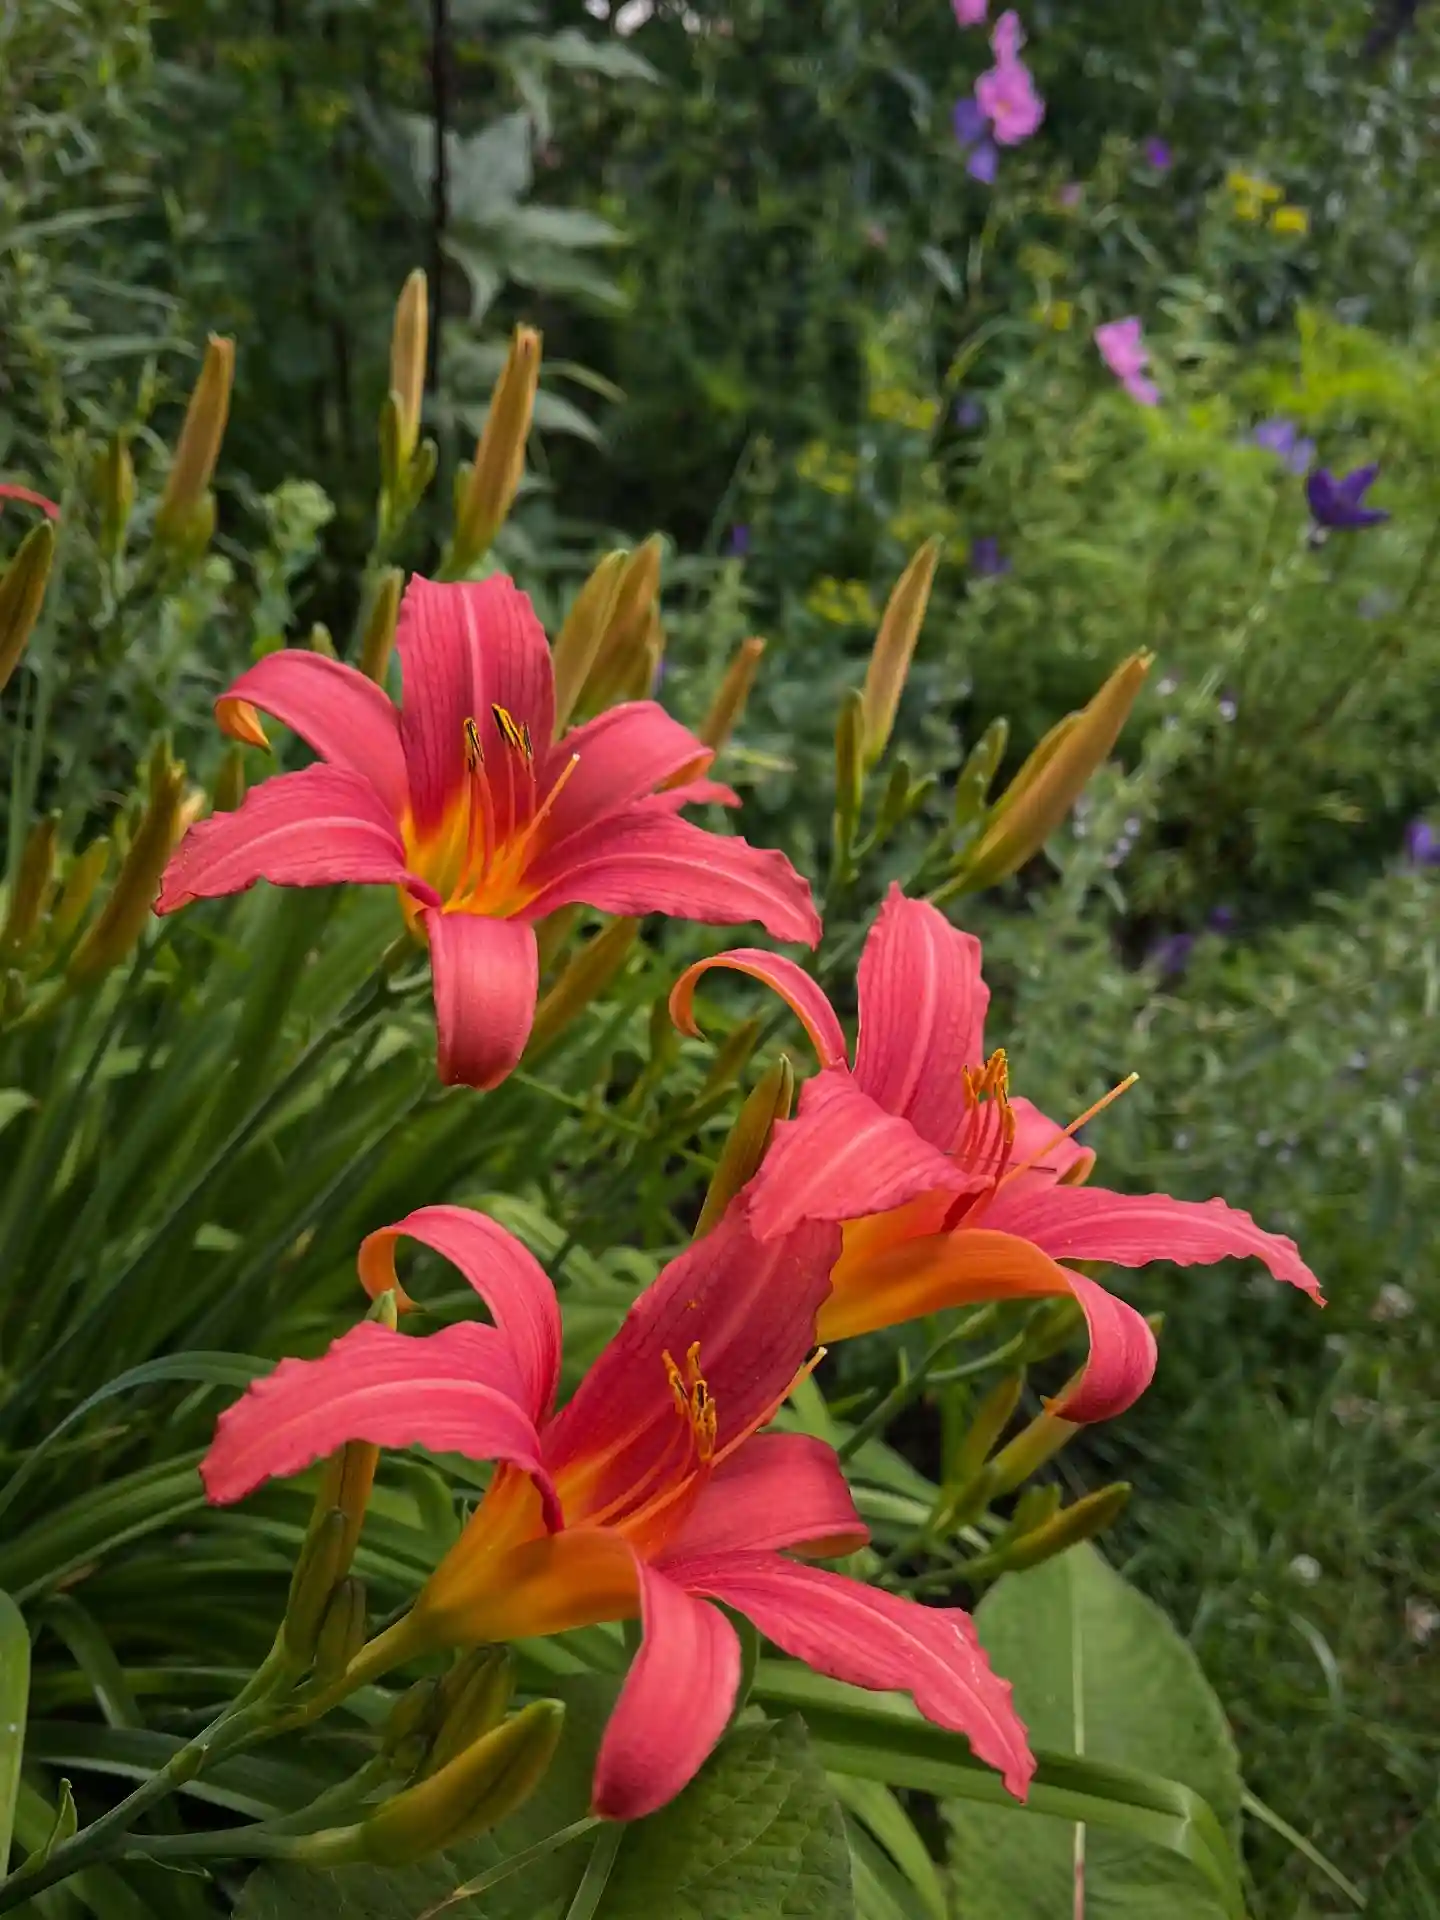
Daylilies come in many colors, heights, and bloom styles. Some stay small and tidy, while others grow tall with large flowers. If you are a beginner, repeat-blooming types are often the easiest because they give you more flowers through the season.
| Daylily Variety | Flower Color | Height | Bloom Time | Best For |
| Stella de Oro | Golden yellow | 10–14 inches | Early to repeat bloom | Borders and small gardens |
| Happy Returns | Soft yellow | Around 18 inches | Repeat blooming | Long-season color |
| Pardon Me | Deep red | Around 18 inches | Midseason | Front borders |
| Frans Hals | Orange and yellow | 24–30 inches | Midseason | Cottage gardens |
| Chicago Apache | Red | 24–30 inches | Midseason | Bold flower beds |
| Hyperion | Lemon yellow | 36–40 inches | Mid to late season | Tall borders |
| Joan Senior | Cream white | Around 24 inches | Midseason | Soft garden palettes |
| Ruby Spider | Red and gold | Around 34 inches | Midseason | Large statement blooms |
For beginners, I like compact repeat bloomers such as Stella de Oro and Happy Returns. They are easy to place, easy to care for, and they keep the garden looking cheerful for a long time.
If you want a bolder look, mix yellow, orange, red, and cream varieties together. This creates a relaxed perennial bed that feels full but still easy to maintain.
Where to Plant Daylilies
Daylilies bloom best in full sun. Aim for at least 6 hours of direct sunlight each day if you want the most flowers.
They can grow in part shade, but they may bloom less. In very hot areas, a little afternoon shade can help darker flowers hold their color better.
Soil matters too. Daylilies prefer loose, well-draining soil with compost mixed in. They do not like sitting in soggy ground for long periods, so avoid low spots where water collects after rain.
For spacing, give each plant enough room to spread:
- Small varieties: 12–18 inches apart
- Medium varieties: 18–24 inches apart
- Large varieties: 24–30 inches apart
Good spacing helps airflow and makes the plants easier to divide later. If you are building a sunny flower bed, daylilies pair nicely with black-eyed Susans because both enjoy sun and bring warm seasonal color.
Pro Tip: Dark red and purple daylilies often look better with a little afternoon shade, especially in hot climates.
How to Plant Daylilies Step by Step
Planting daylilies is simple, but the crown depth is important. If you plant them too deep, they may grow leaves but bloom poorly.
- Choose the right planting time
Spring and early fall are the best times to plant daylilies. Spring gives them a full growing season to settle in, while fall planting works well if done several weeks before frost. - Pick a sunny spot
Choose a location with at least 6 hours of sun each day. More sun usually means more blooms. - Prepare the soil
Loosen the soil and mix in compost. This helps drainage and gives the roots a better start. - Dig a wide hole
Make the hole wider than the root spread. The roots should have space to fan out naturally. - Set the crown correctly
Place the crown about 1 inch below the soil surface. Do not bury it too deep. - Spread the roots
Gently spread the roots outward before filling the hole. - Backfill the soil
Add soil around the roots and press lightly to remove air pockets. - Water deeply
Soak the soil well after planting so the roots settle in. - Add mulch
Add about 2 inches of mulch around the plant, but keep mulch away from the crown.
The biggest mistake I see with new daylily growers is planting the crown too deep. If your daylilies look healthy but refuse to bloom, crown depth is one of the first things to check.
Daylily Care Through the Seasons
Daylilies are low-care plants, but a little seasonal attention helps them look better and bloom more.
Spring Care
In spring, remove old dead foliage and watch for fresh green shoots. Add compost around the plant or use a balanced slow-release fertilizer.
Spring is also a good time to divide large clumps. If your daylily has become crowded or blooms less than it used to, division can bring it back to life.
Summer Care
During summer, water deeply during dry weeks. Daylilies can handle some dryness, but steady moisture helps them produce stronger blooms.
Remove spent flowers if you want a cleaner look. After a flower stalk finishes blooming, cut the stalk down near the base.
Fall Care
In fall, the leaves may start to yellow and die back. You can cut the foliage down after it turns brown, or you can leave some of it until late winter for a more natural look.
Stop fertilizing in fall. The plant should slow down and prepare for dormancy.
Winter Care
Daylilies die back naturally in cold climates. This is normal, and the roots stay alive underground.
In colder zones, add a light mulch layer after the ground gets cold. This helps protect roots from freeze and thaw cycles.
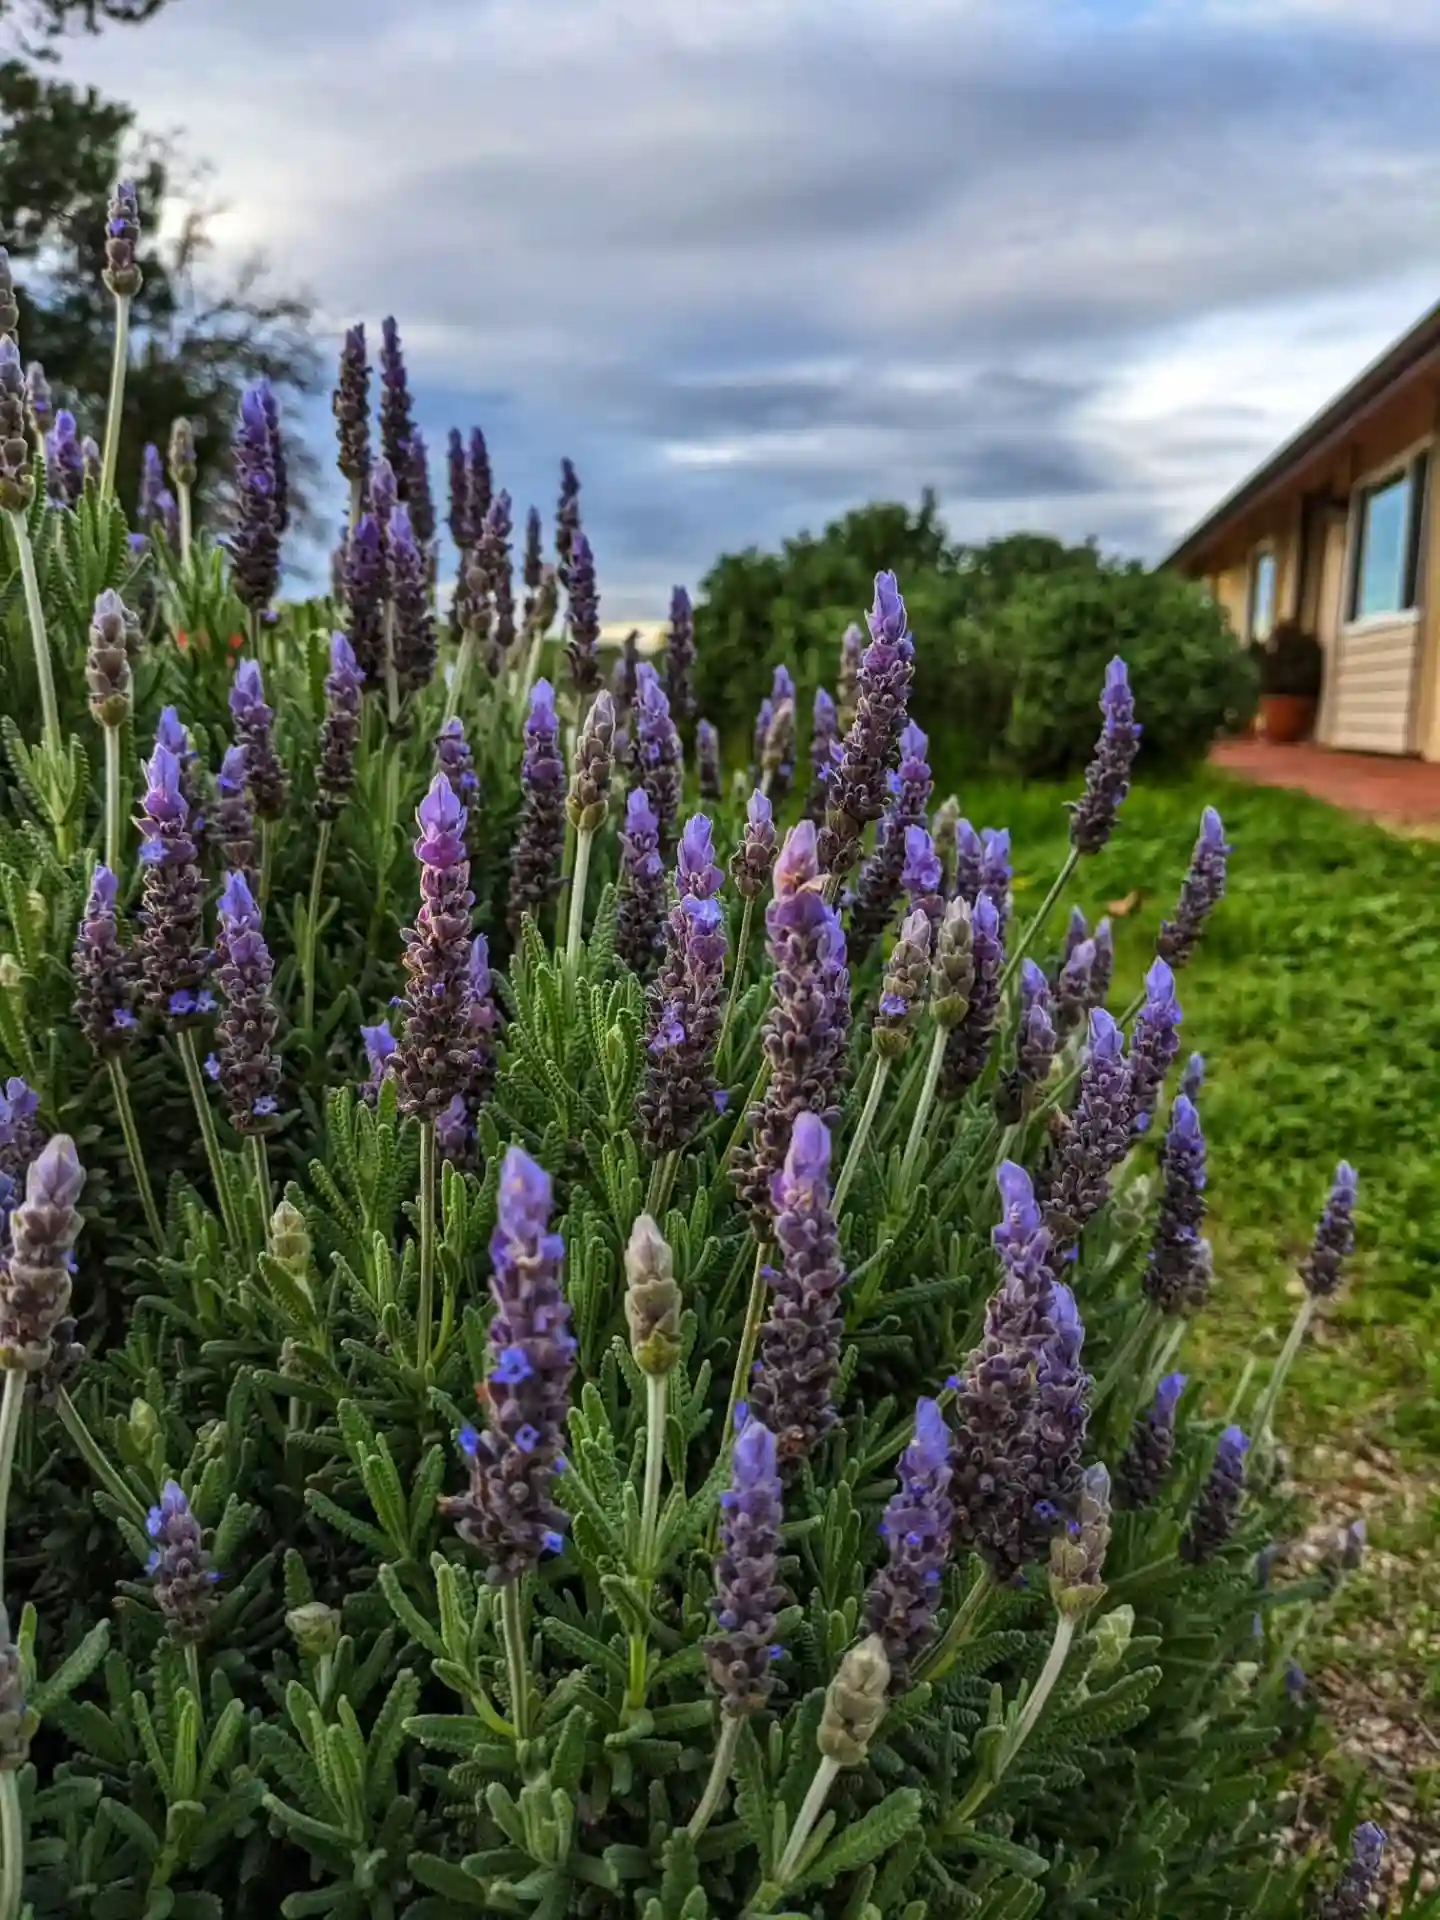
For a sunny garden with scent and soft texture, daylilies also look lovely near lavender, as long as the soil drains well.
Watering and Fertilizing Daylilies
Daylilies need about 1 inch of water per week, especially when they are setting buds or blooming. Rain may be enough in some areas, but during dry spells, deep watering makes a big difference.
Water at the base of the plant instead of spraying the leaves. Morning watering is best because the foliage has time to dry during the day.
For feeding, use compost or a balanced slow-release fertilizer in spring. A 10-10-10 fertilizer can work well when used lightly.
Avoid too much nitrogen. If a daylily gets too much nitrogen, it may grow lots of leaves but fewer flowers. In healthy soil, compost may be all you need.
How to Get More Daylily Blooms
If your daylilies are not blooming well, start with sunlight. They need strong light to flower at their best.
Crowding is another common reason for fewer blooms. Older clumps can become packed with roots, which lowers flower production. Dividing them every few years often fixes this.
To help daylilies bloom better:
- Give them at least 6 hours of sun
- Water during dry spells
- Divide crowded clumps every 3–5 years
- Remove old flower stalks
- Avoid high-nitrogen fertilizer
- Choose repeat-blooming varieties
- Improve poor soil with compost
When my daylilies stop blooming well, crowding is usually the first thing I check. A fresh division often gives them new energy.
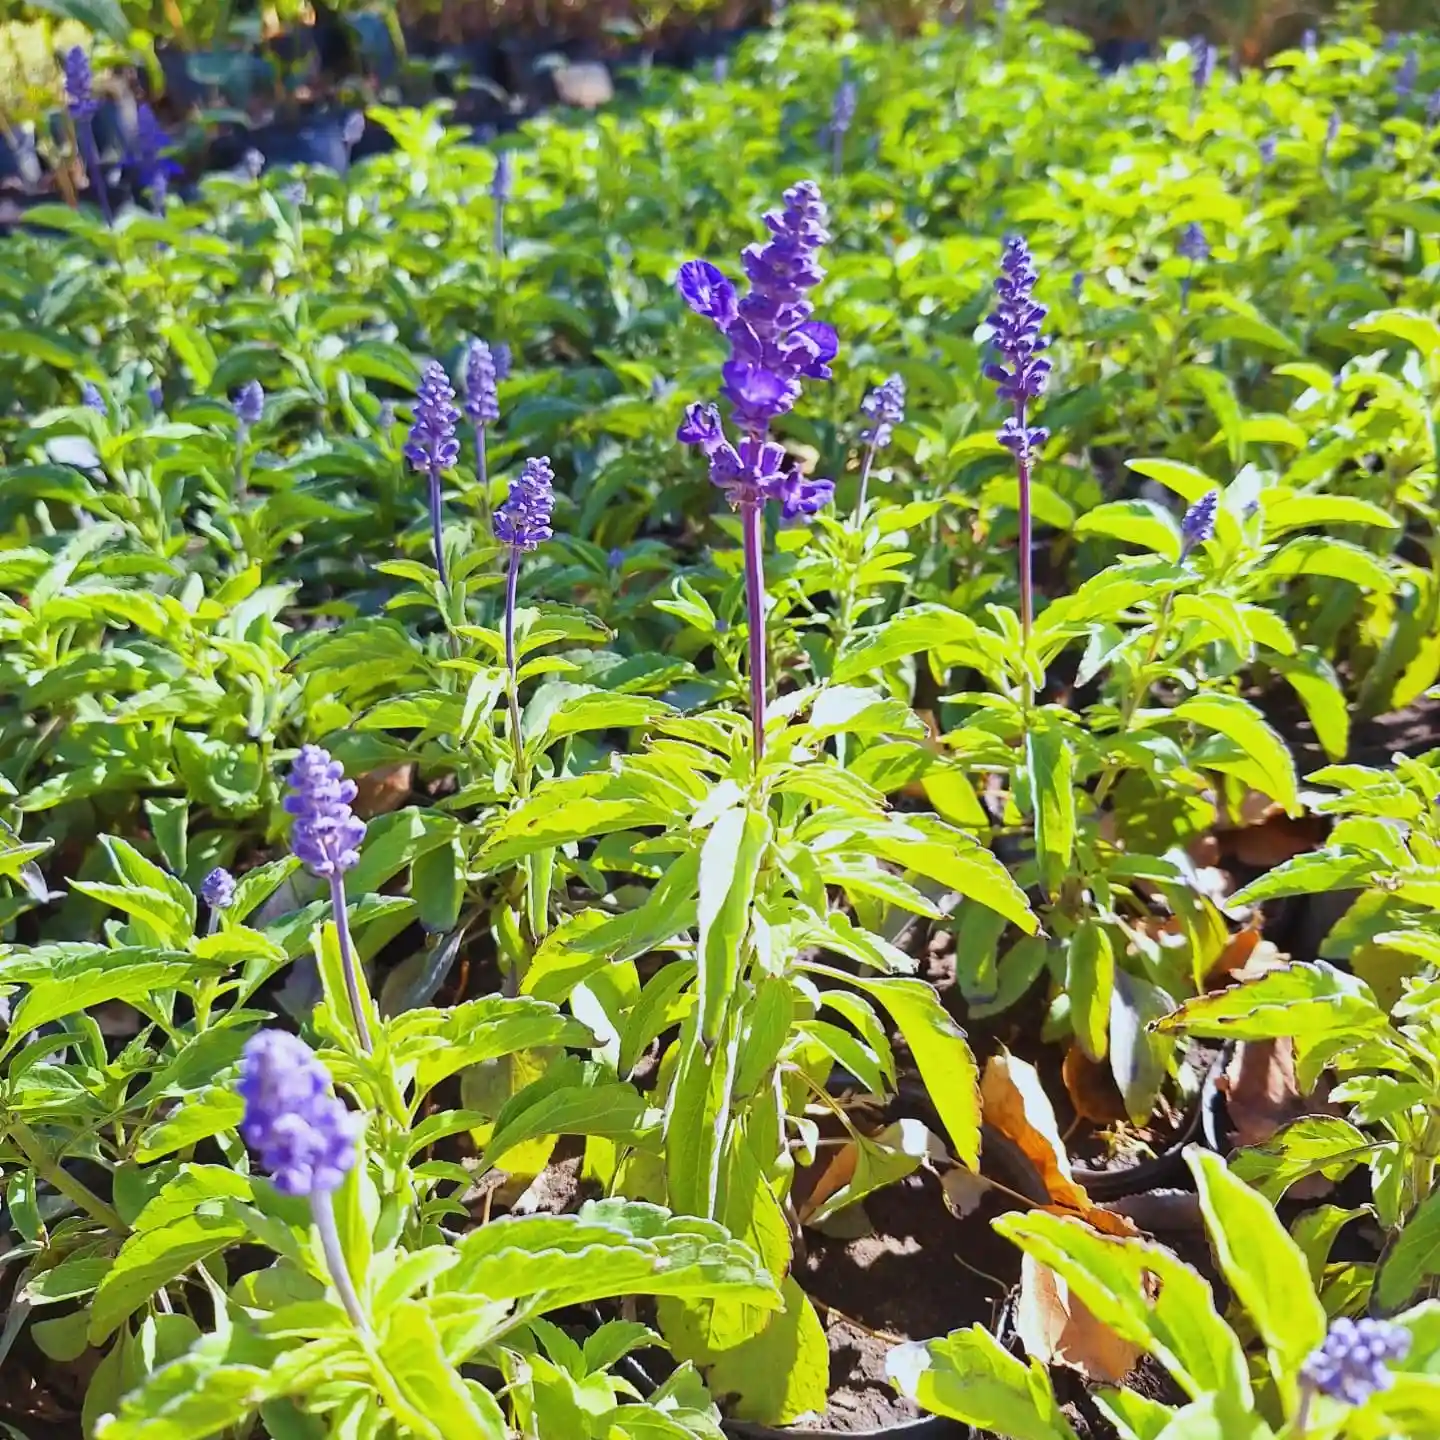
For more long-lasting garden color, you can also grow salvia nearby. Its upright flower spikes look beautiful beside the softer shape of daylily leaves.
Common Daylily Problems
Daylilies are tough, but they can still run into a few issues. Most problems come from too much shade, poor drainage, overcrowding, or stress from dry soil.
| Problem | Likely Cause | What To Do |
| Few or no blooms | Too much shade or overcrowding | Move to a sunnier spot or divide the clump |
| Yellow leaves | Overwatering or poor drainage | Improve drainage and water less often |
| Brown leaf tips | Heat, drought, or stress | Water deeply and add mulch |
| Flower buds drop | Dry soil or weather stress | Keep soil evenly moist while buds form |
| Rusty orange spots | Daylily rust | Remove infected leaves and improve airflow |
| Chewed leaves | Slugs, snails, or deer | Use barriers, repellents, or hand-pick pests |
| Weak growth | Poor soil or crowded roots | Add compost or divide the plant |
In most home gardens, sunlight, spacing, and water solve the biggest daylily problems. If the plant looks crowded at the center, division is usually worth doing.
How to Divide Daylilies
Daylilies are easy to divide, and this is one of the best ways to keep them blooming well. You can also use divisions to fill other parts of your garden.
The best time to divide daylilies is early spring or early fall. Spring division gives the plant time to recover before summer, while fall division works well if the weather is still mild.
Most daylilies benefit from division every 3–5 years, or when the center starts looking weak.
Here is the simple method:
- Water the plant the day before dividing.
- Dig around the full clump with a garden fork or shovel.
- Lift the root mass from the soil.
- Shake or rinse off loose soil so you can see the roots.
- Pull apart the clump or cut it with a clean knife.
- Keep 2–3 fans of leaves on each division.
- Replant at the same depth as before.
- Water deeply after planting.
After dividing, the plant may look a little tired for a short time. Keep it watered while the roots settle.
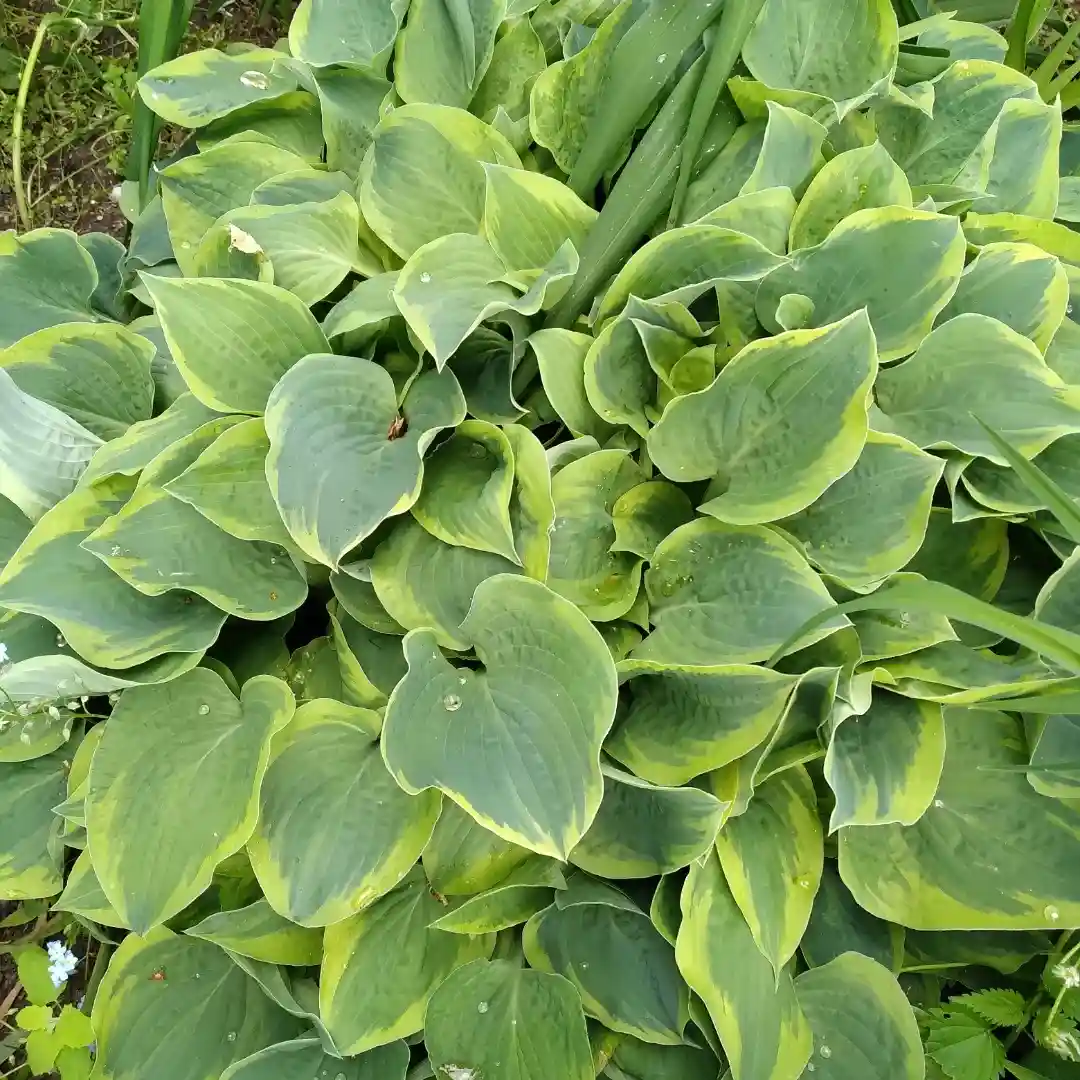
If you are planning a mixed garden with both sun and shade, you can use hostas in the shadier edges while daylilies fill the sunny spots.
Best Companion Plants for Daylilies
Daylilies look best when mixed with plants that add different heights, textures, and bloom shapes. Their grassy leaves work well beside upright flowers, round blooms, and soft foliage.
Good companion plants include:
- Coneflowers for sunny perennial beds and pollinator-friendly color.
- Black-eyed Susans for warm yellow blooms that look great in summer borders.
- Salvia for upright purple, blue, or pink flower spikes.
- Lavender for fragrance, silver-green foliage, and a relaxed garden feel.
- Hostas for nearby part-shade areas where daylilies may not bloom as strongly.
- Ornamental grasses for soft movement behind the flowers.
- Catmint for a cottage garden look and long-lasting blooms.
When you mix daylilies with other perennials, try to repeat colors in small groups. This makes the bed feel planned without looking too stiff.
Can You Grow Daylilies in Pots?
Yes, daylilies can grow in pots if the container is large enough. This is a good option for patios, porches, small gardens, or renters who want color without planting in the ground.
Choose a pot that is at least 12–16 inches wide for compact varieties. Larger daylilies need bigger containers so the roots have room to grow.
Make sure the pot has drainage holes. Daylilies do not like soggy roots, especially in containers.
Use a good-quality potting mix, not heavy garden soil. Potted daylilies dry out faster than in-ground plants, so check the soil often during hot weather.
Compact varieties like Stella de Oro are great for containers. Every few years, divide or refresh the plant so it does not become root-bound.
Are Daylilies Deer Resistant?
Daylilies are not fully deer resistant. Deer may eat the buds, flowers, and leaves, especially when other food is limited.
If deer visit your garden often, protect daylilies before the buds open. Once deer find the flowers, they may come back for more.
You can try:
- Deer repellent spray
- Temporary fencing around young buds
- Planting near stronger-scented herbs
- Using daylilies in areas closer to the house
- Mixing them with plants deer usually avoid
No plant is completely safe from hungry deer, so it is better to protect daylilies early.
Are Daylilies Safe for Pets?
Daylilies are highly toxic to cats. Even small exposure can be dangerous, so keep cats away from the plant.
If you have cats that roam the garden, it may be safer to avoid daylilies or plant them in an area your cat cannot reach. If you think your cat has chewed any part of a daylily, contact a vet right away.
For dogs, daylilies may still cause stomach upset if eaten. It is best to keep pets from chewing garden plants in general.
FAQ
Do daylilies need full sun?
Daylilies bloom best with at least 6 hours of sun each day. They can grow in part shade, but they usually produce fewer flowers.
When is the best time to plant daylilies?
Spring and early fall are the best times to plant daylilies. Spring gives them more time to settle before winter, while early fall works well if planted before hard frost.
How often do daylilies bloom?
Most daylilies bloom for a few weeks. Repeat-blooming varieties can flower more than once in the same season.
Should I cut back daylilies after blooming?
You can cut off finished flower stalks after blooming. Wait until the leaves turn yellow or brown before cutting back the foliage.
Why are my daylilies not blooming?
The most common reasons are too much shade, crowded roots, poor soil, or too much nitrogen fertilizer. Dividing old clumps often helps bring blooms back.
Can daylilies grow in pots?
Yes, daylilies can grow in pots. Use a container with drainage holes, choose a compact variety, and water more often during hot weather.
Are daylilies toxic to cats?
Yes, daylilies are toxic to cats. Keep cats away from the plant and contact a vet quickly if your cat eats any part of it.